Legendary sound, built for the road
MEET OUR MARSHALL AMBASSADORS

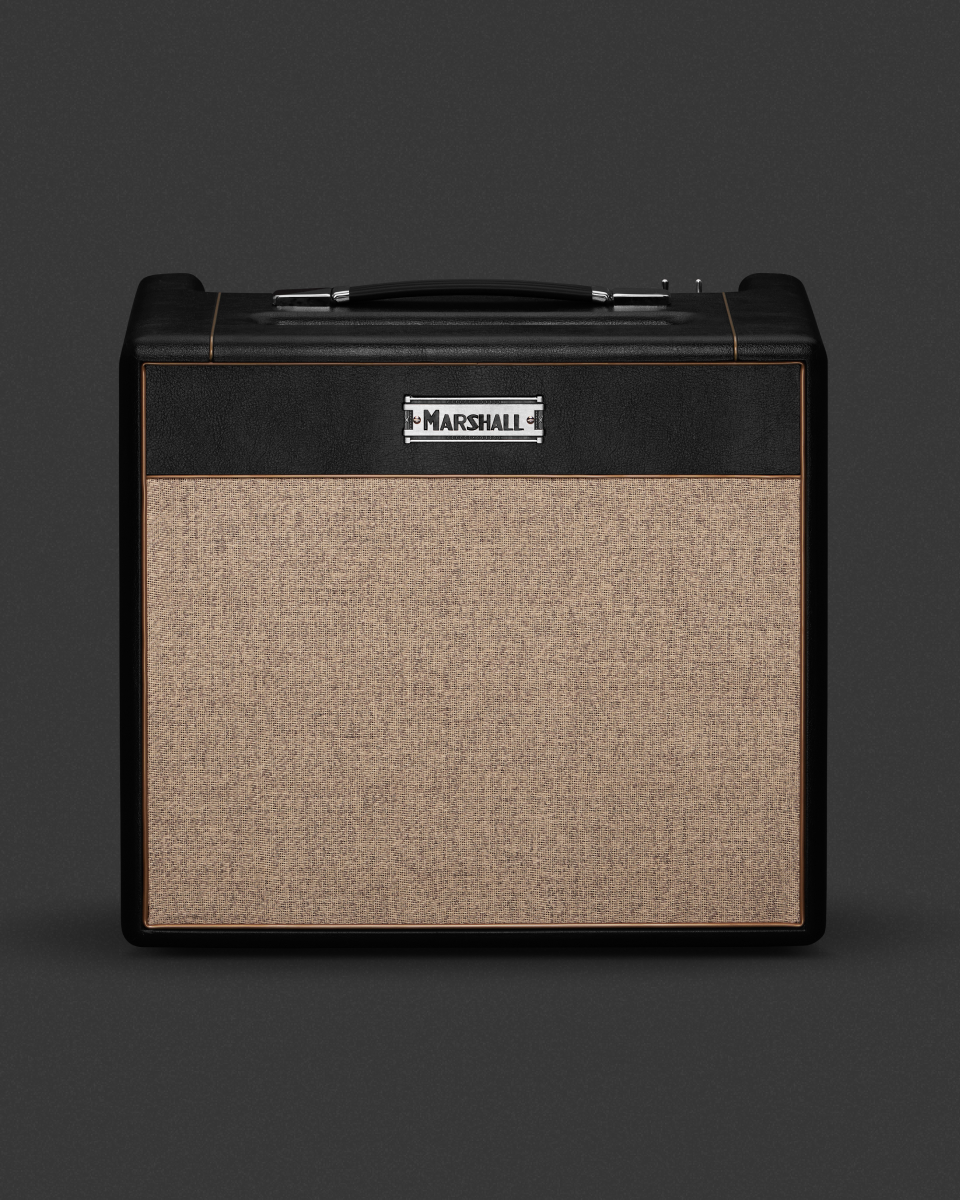
AMPS
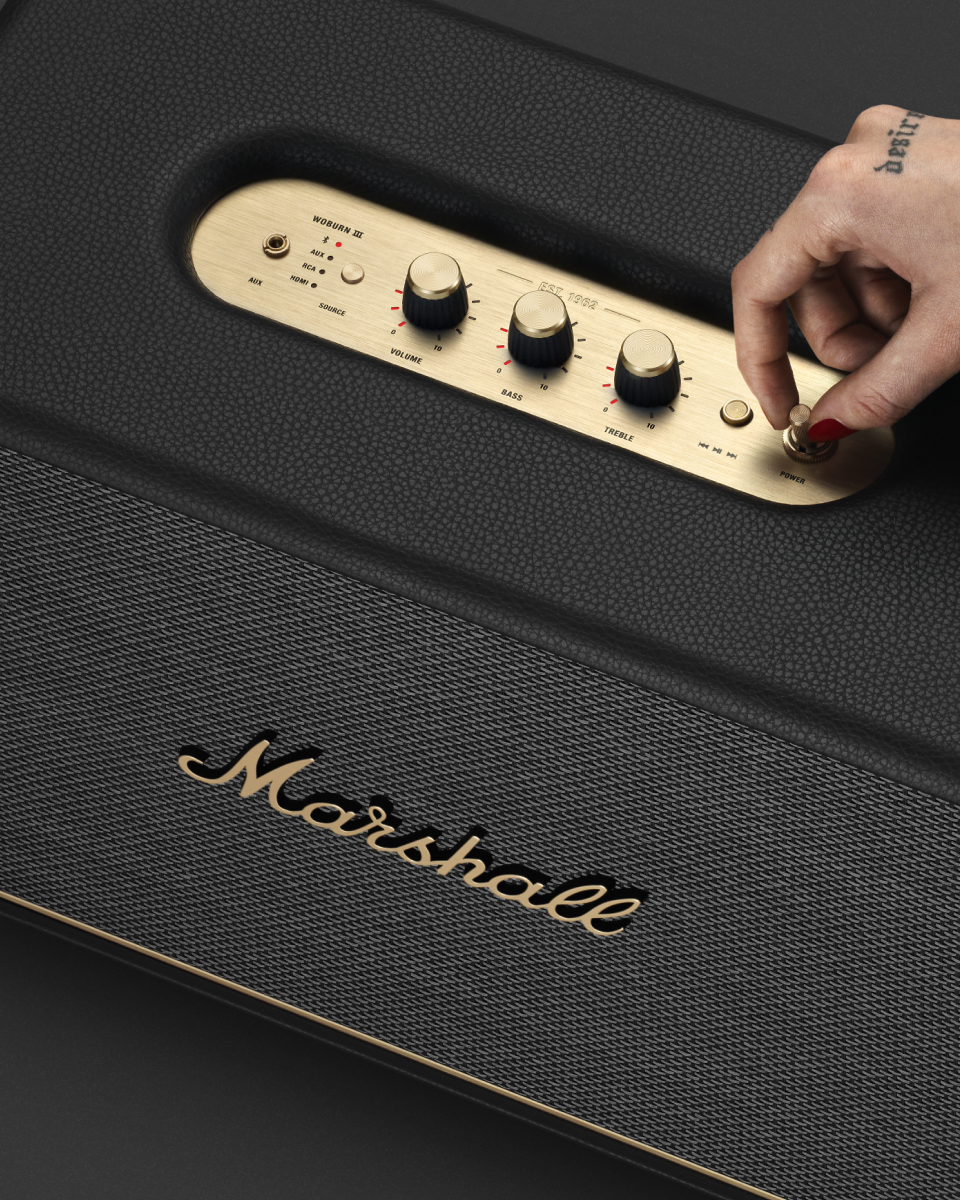
SPEAKERS
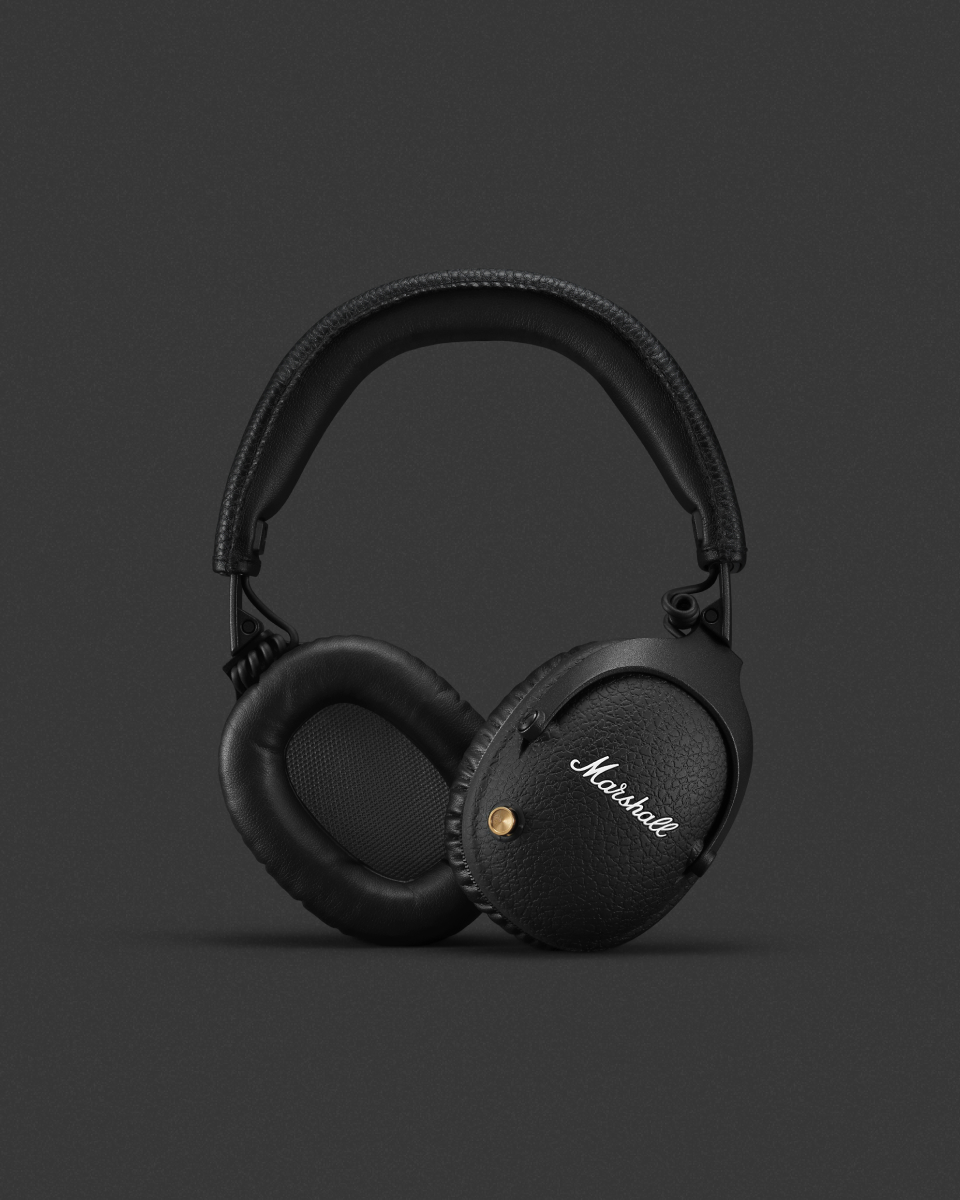
Headphones
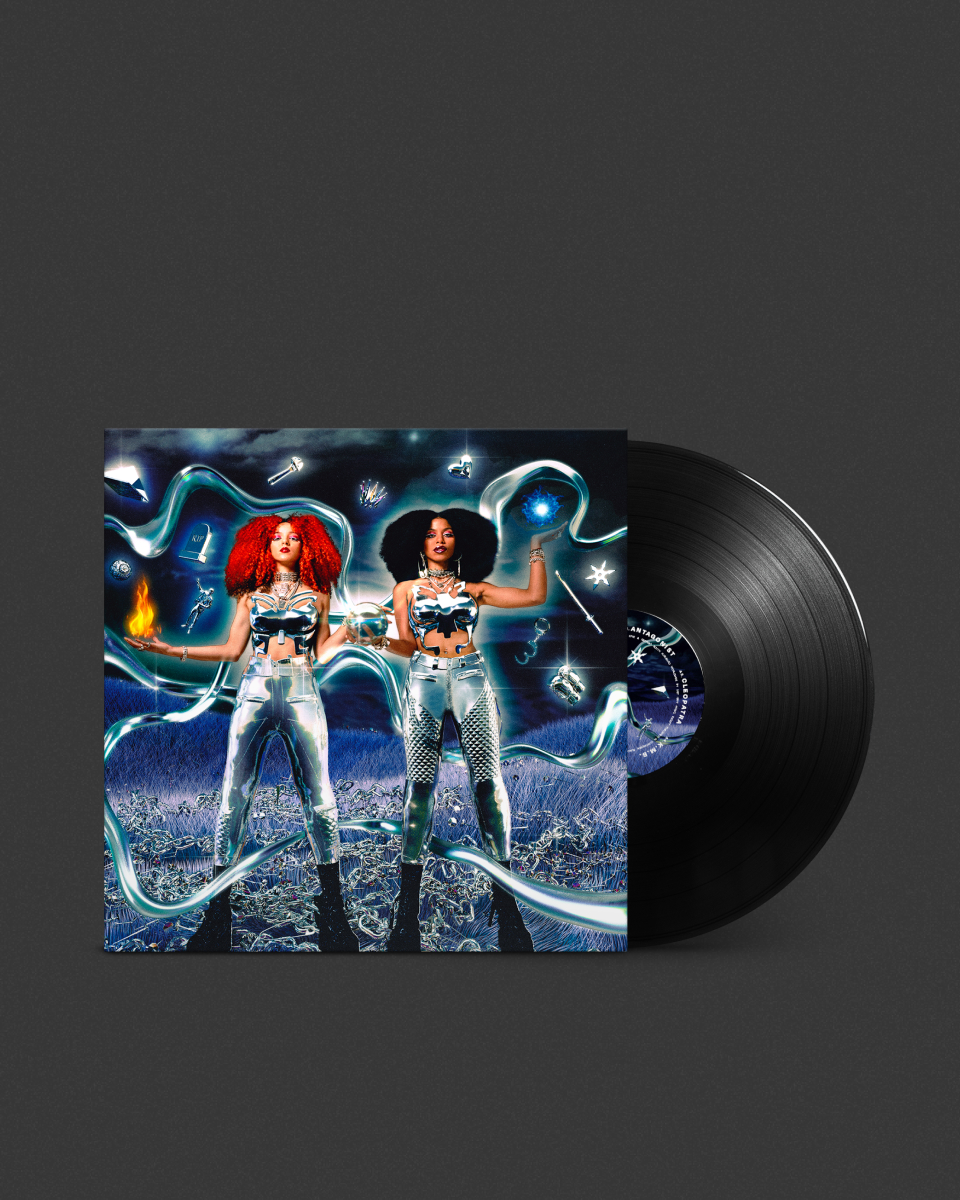
Records
AMPS
SPEAKERS
Headphones
Records
AMPS
SPEAKERS
Headphones
Records
AN ICON FOREVER
Shop Major V
All sound, no fuss
Shop Minor IVIN THE SPOTLIGHT
MG GOLD
Simplicity at its best. The MG Gold series has all the features you need for practice or performing on stage.
Explore the range
Guitar Heroes: Angus Young
Get to know the AC/DC guitarist who shredded and duck walked his way into the Rock and Roll Hall of Fame.
Dive in
United Through Music
Marshall would be nothing without the music community, that’s why we’re committed to amplifying the voices of up-and-coming artists and grassroots collectives from across the world.
Natal drums
Inspired by classic 1960s drum sets, our kits are a homage to the drummers who defined contemporary rhythm.
Explore drums
Marshall Records: Gen and the Degenerates
Alternative punk rockers, party starters and agents of chaos. If this is your first time listening, we’re sure it won’t be your last.
Discover their sound
